Fix small (under 4-inch) drywall holes by cleaning edges, applying a self-adhesive mesh patch, covering with two coats of spackle or joint compound, sanding smooth, and painting. Use spackle for minor dents, and mesh patches for holes up to 4 inches to prevent cracks.
Essential Tools & Materials
- Spackling compound or Lightweight Joint Compound
- Putty knife (2-3 inch)
- Self-adhesive mesh patch (for holes >1/2 inch)
- Sandpaper (120-220 grit) or Sanding Sponge
- Paint & primer
Step-by-Step Repair Guide
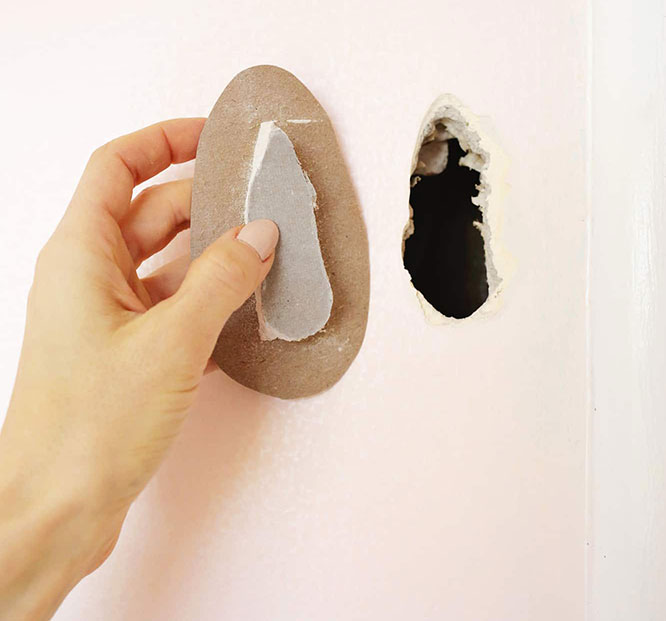
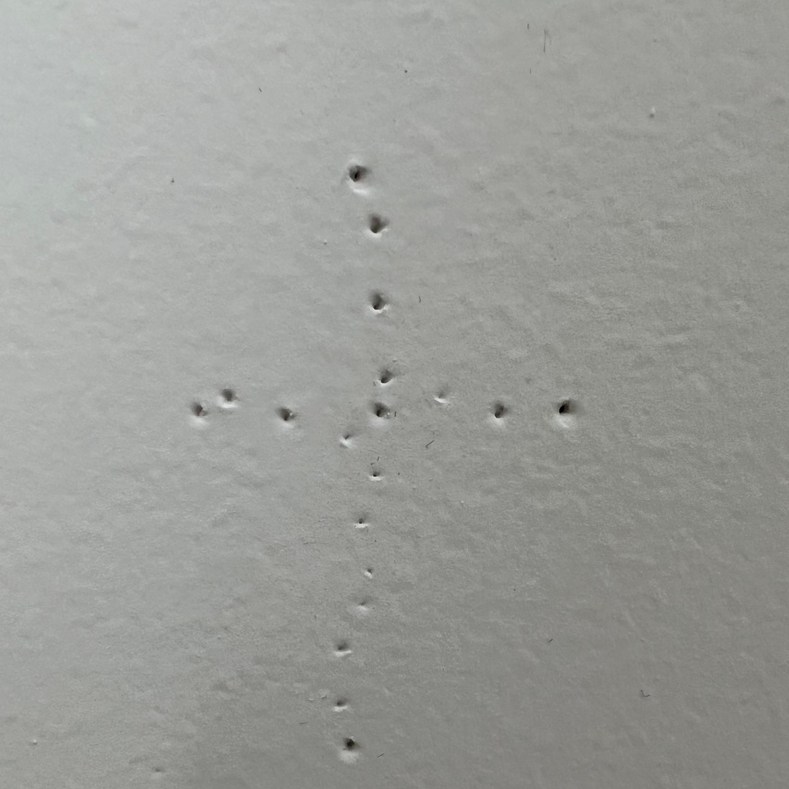
- Prepare the Hole: Use a utility knife to scrape away loose paper or edges around the hole, ensuring the surface is flat.
- Apply Mesh Patch: For holes larger than a nail hole, apply a self-adhesive mesh patch directly over the spot.
- Apply First Coat: Use the putty knife to spread spackle over the patch, forcing it through the mesh, and feather the edges (smooth it out).
- Dry and Sand: Let the compound dry completely—look for a color change (blue to white) if using, or wait per instructions. Lightly sand the area with a sanding sponge.
- Second Coat & Final Sand: Apply a second, thinner coat of compound, extending slightly beyond the first to blend with the wall. Let it dry, then sand it smooth until it is level with the surrounding wall.
- Paint: Apply primer and then touch up with paint to match the wall.
Tips for Success
- Prevent Shrinkage: Use lightweight joint compound rather than spackle for larger “small” holes (1–4 inches) as it cracks less when dry, say Ask This Old House.
- “Feather” the Edges: Blend the compound outward so the repair doesn’t look like a hump.
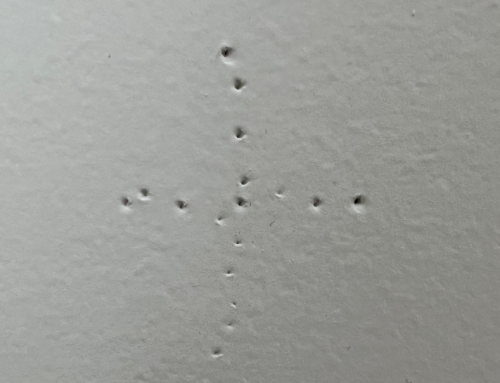
- Nail Pops: For small nail pops, dig out the broken drywall, tighten the screw, and fill, as discussed in this Youtube video.
