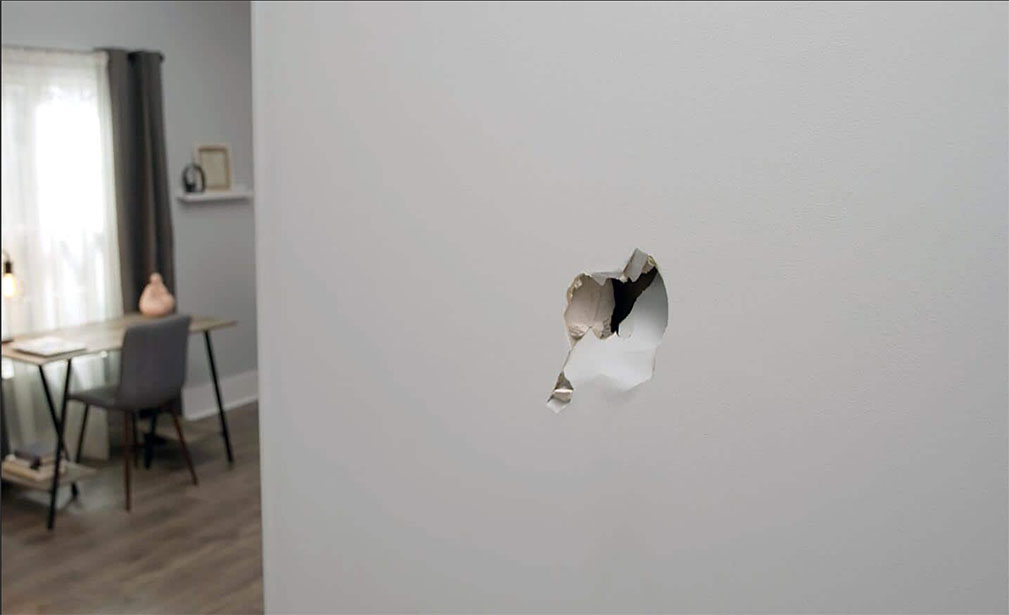
A door swinging open too hard can easily drive a doorknob straight through drywall. It’s a surprisingly common problem in homes and businesses, especially in hallways, bedrooms, and offices where doors open quickly or where no door stop is installed. The good news is that this type of wall damage is usually very repairable, and with the right process the wall can look as good as new.
Why Doorknobs Damage Drywall
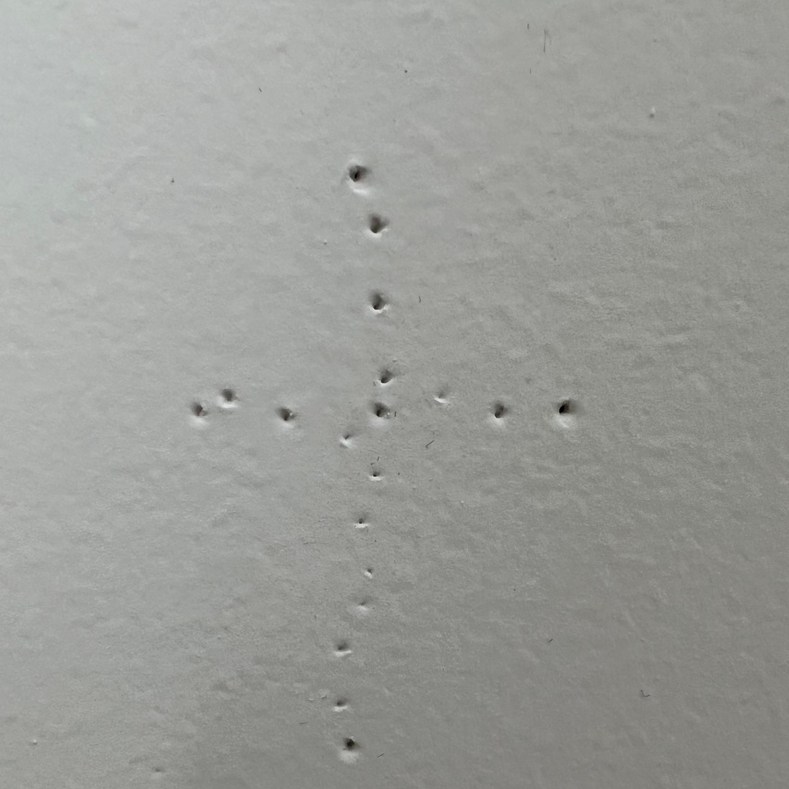
Most interior walls are made from drywall (also called sheetrock). While drywall is strong enough for everyday use, it isn’t designed to withstand repeated impact from a hard object like a metal doorknob. If a door is pushed open with force or swings freely without a stopper, the knob can dent, crack, or even break completely through the wall surface.
When this happens, the damage may look minor at first, but it often leaves a jagged hole with broken drywall edges that need proper repair.
Step 1: Assess the Damage
The first step in fixing a doorknob hole is evaluating how large the damage is.
Small dents or shallow cracks can sometimes be repaired with joint compound alone. However, if the doorknob has broken completely through the drywall, a patch will usually be required.
Professional drywall technicians will typically clean up the hole by trimming away loose or broken drywall to create a smooth, solid edge for the repair.
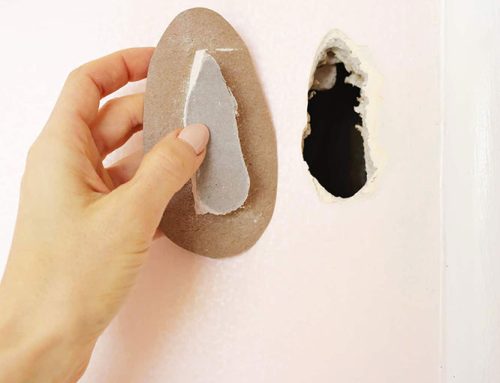
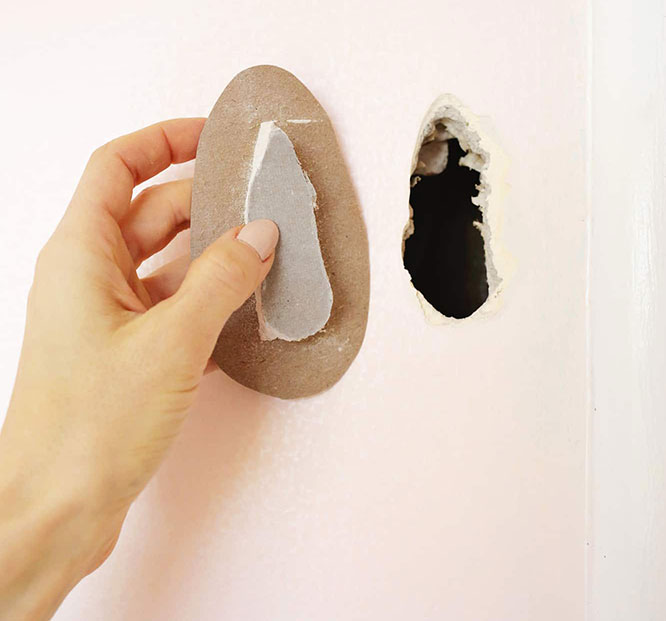
Step 2: Install a Drywall Patch
For holes larger than a few inches, a drywall patch is installed. This can be done using several techniques depending on the size of the damage.
Common repair methods include:
Self-adhesive mesh drywall patches
A small drywall cut-out patch secured to backing supports
California or “butterfly” patches for mid-size holes
The patch is carefully fitted so it sits flush with the surrounding wall surface.
Step 3: Apply Joint Compound
Once the patch is secure, layers of joint compound (sometimes called mud) are applied over the patch. This compound fills gaps, smooths edges, and blends the repair with the surrounding wall.
The compound is usually applied in several thin coats. Each coat must dry before the next is added to create a seamless finish.
Step 4: Sand and Smooth the Surface
After the final coat dries, the repair area is sanded smooth. This step is important because it removes any ridges or uneven spots and helps the repaired section match the rest of the wall.
A properly finished patch should be almost impossible to see once painted.
Step 5: Texture Matching
Many homes have textured walls, such as orange peel, knockdown, or other finishes. If the texture is not matched correctly, the repair will stand out.
Professional drywall repair specialists use texture spray techniques and hand finishing methods to replicate the existing wall texture so the repair blends naturally.
Step 6: Prime and Paint
The final step is priming and painting the repaired area. Primer seals the joint compound and ensures the paint color matches evenly. Once painted, the repaired section should look identical to the surrounding wall.
Preventing Future Damage
Once the wall is repaired, it’s a good idea to install protection so the problem doesn’t happen again. A few simple options include:
Installing a wall-mounted door stop
Using a hinge-mounted door stop
Adding a decorative wall protector plate
These inexpensive solutions prevent the doorknob from ever hitting the drywall again.
When to Call a Professional
While small dents can sometimes be a DIY repair, larger holes caused by doorknobs often require proper patching, texture matching, and painting to look perfect again. Professional drywall repair specialists have the tools and experience to complete the job quickly and leave the wall looking flawless.
If a doorknob has punched through your wall, the damage can usually be repaired in just a few hours, restoring your home or business to its original appearance.
If you don’t want to try this yourself. Give us A Call or Click Here